GPT Image 2 is OpenAI's most capable image generation model, and thanks to its strong natural language understanding, it's also the easiest to use. You don't need to learn special syntax or memorize keyword combinations. Describe what you want in plain language and the model handles the rest.
This tutorial walks you through everything you need to start creating with GPT Image 2 on Kairval, from your first text-to-image generation to advanced image-to-image editing techniques.
Getting Started
Before diving in, here's what you need to know about accessing GPT Image 2:
No sign-up required for first use: You can try the model immediately on Kairval without creating an account. Your first few generations are free.
Credit-based system: After your free credits are used, GPT Image 2 operates on Kairval's credit system. Credits are shared across all models, so you can switch between GPT Image 2, Imagen 3, FLUX.2 Pro, and others without managing separate subscriptions. Check the pricing page for current rates.
Two generation modes: The model supports both text-to-image (create from scratch) and image-to-image (edit existing photos). Both are accessible from the Kairval dashboard.
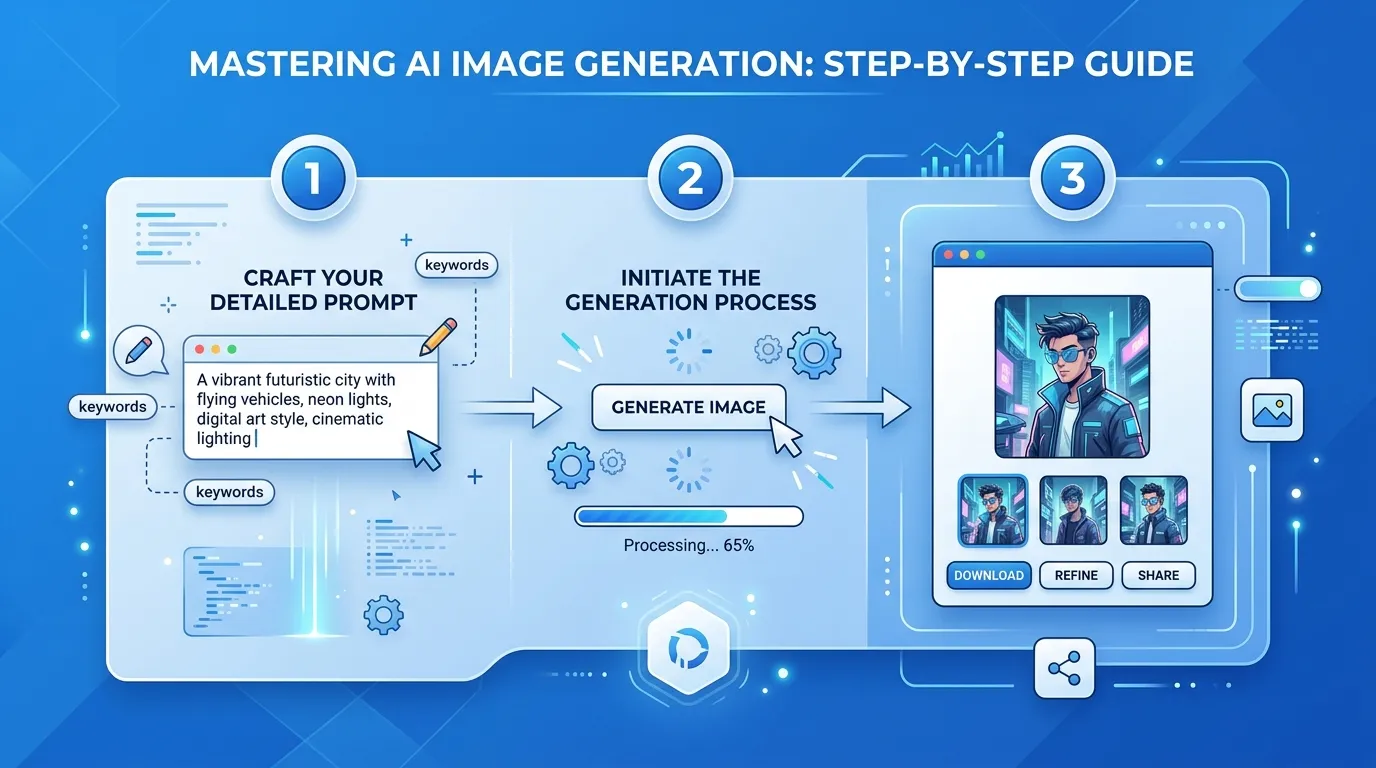
Method 1: Text-to-Image Generation
Text-to-image is the most common way to use GPT Image 2. You provide a text description, and the model creates an image from scratch.
Step 1: Open the Tool
Navigate to the text-to-image tool on Kairval. The interface shows a text input area, model selector, and generation settings.
Step 2: Select GPT Image 2
From the model dropdown, select GPT Image 2. You'll see other models available too, including GPT-4o Image, Imagen 3, FLUX.2 Pro, and more. For now, choose GPT Image 2.
Step 3: Write Your Prompt
This is where the magic happens. The model responds best to descriptive, specific prompts. Here's a simple framework to follow:
- Name your subject: What is the main focus of the image?
- Describe the setting: Where does it take place? What's in the background?
- Specify the style: Photography, illustration, painting, 3D render?
- Add lighting and mood: Bright, dramatic, warm, moody?
- Include text if needed: Put exact text in quotation marks
Example prompt for a beginner:
A golden retriever puppy sitting in a sunflower field, golden hour sunlight, warm colors, professional photography, happy and playful mood
Example for a business use case:
A modern minimalist desk setup with a silver laptop, white ceramic mug of coffee, and a small potted succulent, shot from above, clean white desk surface, soft natural window light, editorial photography style
Step 4: Choose Your Settings
Configure these settings before generating:
-
Aspect ratio: Choose based on your intended use
- 1:1 — Instagram posts, product shots, profile pictures
- 16:9 — YouTube thumbnails, website banners, presentations
- 9:16 — Instagram Stories, TikTok, mobile wallpapers
- 4:3 — Blog images, presentations, email graphics
-
Negative prompt (optional): Describe what you don't want in the image. Examples: "blurry, watermark, text, deformed, low quality"
Step 5: Generate and Review
Click the generate button and wait for your result. Generation typically takes 10-30 seconds depending on complexity and server load.
When the image appears, evaluate it against your expectations:
- Does it match the subject you described?
- Is the style correct?
- Is the composition what you envisioned?
- If there's text, is it accurate?
Step 6: Iterate and Refine
Your first generation rarely produces the perfect result. Here's how to refine:
- Add more detail: If the output is too generic, add specific details about colors, materials, or composition
- Adjust the style: If the mood is wrong, add or change lighting and atmosphere descriptions
- Fix text issues: If text rendering is wrong, try putting it in quotation marks with explicit font or placement instructions
- Change the angle: If the composition is off, specify the camera perspective: "overhead view," "close-up," "wide angle"
Method 2: Image-to-Image Editing
Image-to-image lets you upload an existing photo and transform it using a text prompt. This workflow excels at style transfer, creative editing, and enhancing existing images.
Step 1: Open the Image-to-Image Tool
Navigate to the image-to-image tool on Kairval.
Step 2: Upload Your Image
Upload the photo you want to edit. Supported formats include JPG, PNG, and WebP. The image serves as the base that the model will transform.
Step 3: Write Your Editing Prompt
Describe how you want to transform the image. Be specific about what should change and what should stay the same:
Style transfer:
Transform this photo into a watercolor painting style, keeping the same composition and colors but adding visible brushstrokes and paper texture
Background replacement:
Keep the person exactly as they are but replace the background with a tropical beach at sunset, warm golden lighting
Creative enhancement:
Enhance this photo with cinematic lighting, add dramatic shadows and a slight fog effect, make it look like a movie still
Element addition:
Add a black cat sitting on the windowsill to the left side of this room photo, matching the existing lighting and perspective
Step 4: Generate and Compare
The output will be based on your original image but transformed according to your prompt. Generate multiple versions to find the best result.
Pro Tips for Better Results
These techniques will help you get consistently better output from the model:
Write Natural, Detailed Prompts
Thanks to its strong language understanding, GPT Image 2 interprets natural descriptions far better than most generators. Write as if you're describing the image to a professional photographer or designer:
Weak prompt: "coffee shop interior"
Strong prompt: "A cozy coffee shop interior with exposed brick walls, warm Edison bulb lighting, reclaimed wood tables, a chalkboard menu behind the counter, steam rising from a latte on the nearest table, soft focus on the background, warm amber color palette, professional interior photography"
The strong prompt gives the model specific details about materials, lighting, colors, and composition that produce a much more intentional result.
Use Photography Terminology
When you want photorealistic output, use photography terms:
- Lighting: "golden hour," "studio lighting," "Rembrandt lighting," "backlit," "rim light"
- Lens: "shot on 85mm," "wide-angle," "macro lens," "tilt-shift"
- Camera settings: "f/1.8," "shallow depth of field," "long exposure," "high dynamic range"
- Composition: "rule of thirds," "centered," "leading lines," "negative space"
These terms are translated into specific visual parameters during generation, giving you precise control over the final look.
Control Text Rendering
Text rendering is a standout capability of GPT Image 2. For best results:
- Put text content in quotation marks: "sign reading 'CLOSED'"
- Specify the font style: "bold sans-serif," "elegant script," "handwritten"
- Describe text placement: "centered at the top," "in the lower right corner"
- Keep text short: single words and short phrases render more reliably than paragraphs
For projects where text rendering is the primary requirement, also consider Ideogram V3, which is specifically optimized for text-in-image scenarios.
Batch Test Variations
Instead of generating one image at a time, test multiple prompt variations:
- Start with your base prompt
- Create 3 variations with one element changed (lighting, color, composition)
- Generate all three and compare
- Pick the best version and refine further
You'll notice that testing variations in parallel is faster than sequential iteration because you can evaluate multiple directions at once.
Common Mistakes to Avoid
Being too vague: "Make it look nice" gives the model nothing to work with. Every word in your prompt should contribute meaningful information.
Contradictory instructions: "Bright and moody" or "colorful and minimalist" confuse the model. Keep your descriptions coherent.
Overloading the prompt: Trying to include 20 different elements in one generation rarely works well. Focus on the most important elements and let the model handle secondary details.
Ignoring aspect ratio: A stunning landscape image won't work as an Instagram Story, and a portrait image won't work as a YouTube thumbnail. Choose the right ratio for your use case from the start.
Expecting perfection on the first try: Professional AI artists typically generate 5-10 versions before selecting a final result. Build iteration into your workflow.
What to Try Next
Once you're comfortable with the basics, explore these advanced workflows:
- Style mixing: Combine multiple art styles in one prompt: "Art Nouveau poster design with cyberpunk color palette"
- Series creation: Use consistent prompts to create a cohesive set of images for a campaign or project
- Reference combining: Use image-to-image with a reference photo plus a detailed text prompt for precise control
- Negative prompts: Actively exclude unwanted elements to clean up your results
When you're ready for more structured prompt writing, our collection of 15 ready-to-use GPT Image 2 prompt templates covers product photography, social media graphics, and editorial illustration. For a deeper look at what this model can do beyond the basics, the complete GPT Image 2 guide breaks down its architecture and capabilities in detail.
Start Creating
You now have everything you need to start using GPT Image 2 effectively. Head to the text-to-image tool and try it for yourself: your first generations are free.
Your first assignment: generate a product photo for an imaginary coffee brand in under 60 seconds. Open the tool, set the aspect ratio to 1:1, and write a prompt that includes the brand name, the product, the surface material, and the lighting. See how close you can get on the first attempt.

![Gemini vs ChatGPT: Which AI Is Better? [2026]](/kairval/images/blog/00ede4e2-92de-421e-b378-ac6d2ba8fa05.webp "Gemini vs ChatGPT: Which AI Is Better? [2026]")
